Here’s a quick 7 minute video I threw together that shows you how to use the Quarkus CLI to build images using Podman / Docker and Jib and runs the container using Podman Desktop.
TL;DR If you just want to try it out, just run this:
quarkus image build
—
As a Java developer, getting started with building containers can get complicated real quick. At the face of it you just copy your artifact into a base image and do a docker or podman build and that’s it right?! On a serious note, creating a container from your application requires quite a few more considerations than that. To begin with, you have to start with a base image: do you start from scratch, or use a base image that already has a jvm implementation included? Or maybe you’ve opted to do a native build of your application and you don’t need a jvm running in your container. Either way, you’re going to need to find a trusted source that provides tested, secured, possibly signed, and stable images for the particular Java version you’re targetting. And hopefully this source will be able to support you as well as being able to maintain and backport patches going forward. I’m of course a little bit biased, but I always start from Red Hat’s Universal Base Images (UBI). These UBIs are free to use without restrictions which is pretty cool, and they are at the core a subset of the Red Hat Linux (RHEL) distribution so you know they’re going to be stable and trusted. There are several JVM based UBI images, as well as micro UBIs that can be used if you’re going to deploy a native binary.
Once you have decided on a base image, you will need a way to build your container. Docker build is the most known way of building containers, but certainly not the only one. You can use Podman, a pure open source alternative with more security capabilities built in, or you can use BuildPacks or Jib, the latter being a container build tool specifically created for building container images with Java. The downside is that for each of these tools, you need to know how to build a container image; and moreover, you’ll need to have knowledge of the above mentioned base images and how to write a Dockerfile/Containerfile to copy your artifacts and dependencies into them.
Quarkus & Containers
Quarkus wants to bring Developer Joy and it is not different when it comes to building containers. When you create a Quarkus project, whether you use Quarkus CLI quarkus create app, code.quarkus.io or one of the quarkus plugins in VS Code or IntelliJ, Quarkus will create a folder in your src/main called ‘docker’. And in this src/main/docker, you’ll find a few prebaked Dockerfiles that are ready to go using those UBI base images I mentioned before. What’s even better is that the Quarkus plugin has knowledge of these Dockerfiles so you can build images using your favorite project build tool (Maven or Gradle). Basically, you can do an image build with eg. mvn quarkus:image-build (make sure to mvn compile your code first) and quarkus will automatically build a container image using, by default, the Dockerfile.jvm that came with your Quarkus project. Pretty sweet right? But it gets better.
The Quarkus CLI
The Quarkus CLI is basically ‘just’ a convenience wrapper around Maven or Gradle (depending on your preference) that lets you create projects, manage extensions and do essential build and dev commands. This is where things get interesting, because you can do really simple commands that are easy to remember such as quarkus image build. Behind the scenes, Quarkus will invoke your build tool (by default Maven, but can be Gradle as well) and run both `mvn compile` and `mvn quarkus:image-build`. So you can literally compile your code and build the container image with the opinionated base images provided by Quarkus with one simple command. That’s pretty cool if you ask me. Actually, it could get even better because if you want to push your built container to a registry as well, it could be done in one go with the artifact and container build like so quarkus image push --also-build!
What if I don’t have Docker or Podman on my machine?
Quarkus has extensions for other container build tools such as Jib or Buildpacks. You just have to add the extension, eg quarkus ext add jib and subsequently specify your build strategy when you invoke the quarkus build command: quarkus image build jib.
Podman Desktop
Another alternative is to use Podman Desktop. This tool is FOSS (Free Open Source Software) and makes managing containers really easy. When you install it, it’ll help you install the underlying Podman engine. Once installed, you can spin up your container using the Podman desktop UI. Just go to the Images tab and hit the play button next to your container image. Podman will automatically configure the port the app will run on (usually 8080 by default in Quarkus) but it’ll also automatically figure out if that port is already being used and reassign the container to use a different port instead.

Podman Desktop’s “Images” view, where you can see the created container image and the play button to start it
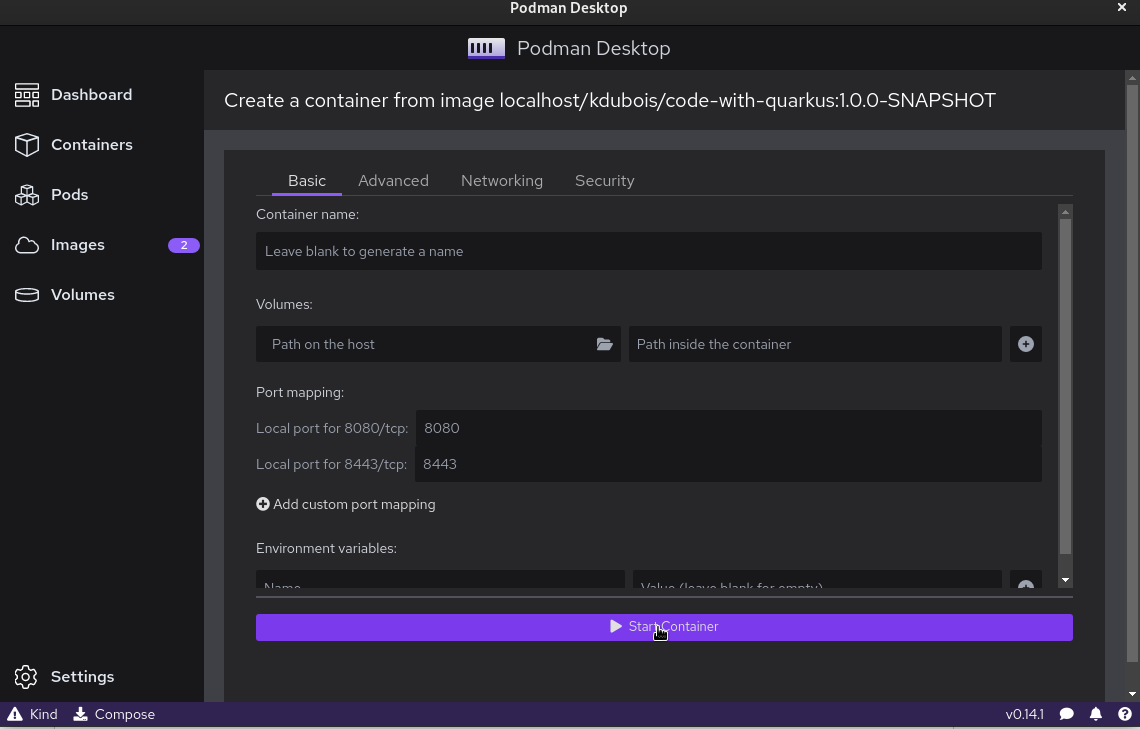
Podman Desktop’s “Create Container” view, where you can define settings and start the container
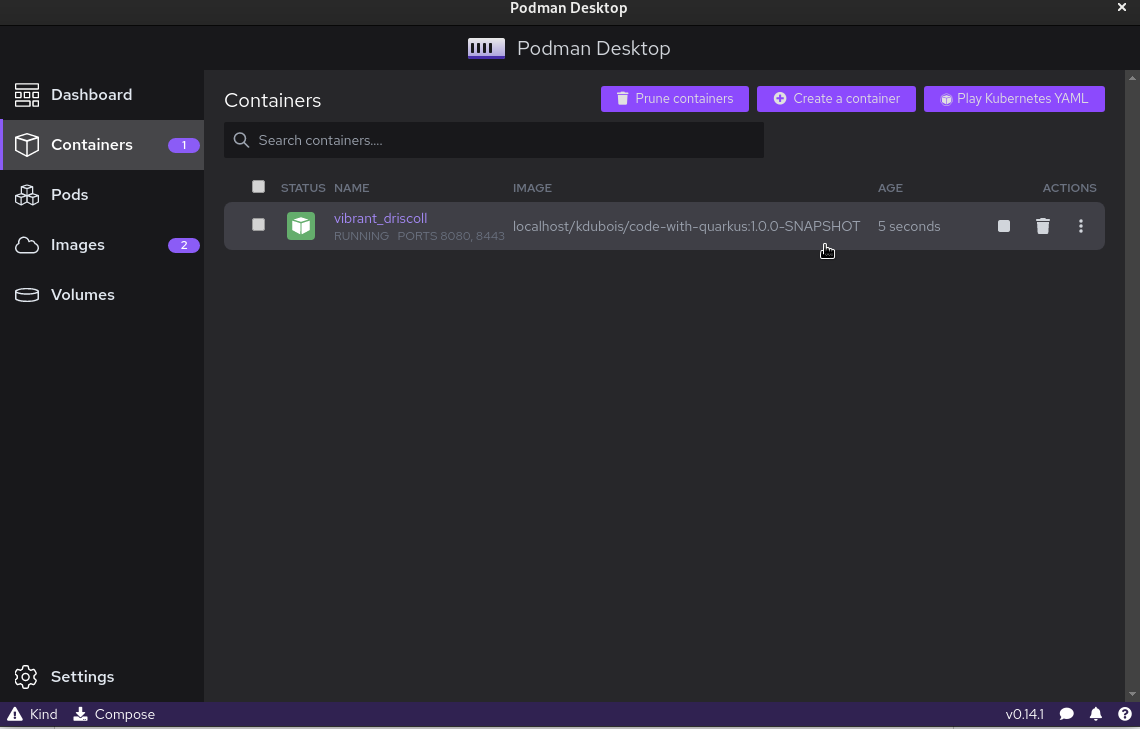
Podman Desktop’s “Containers” view listing the containers on your machine
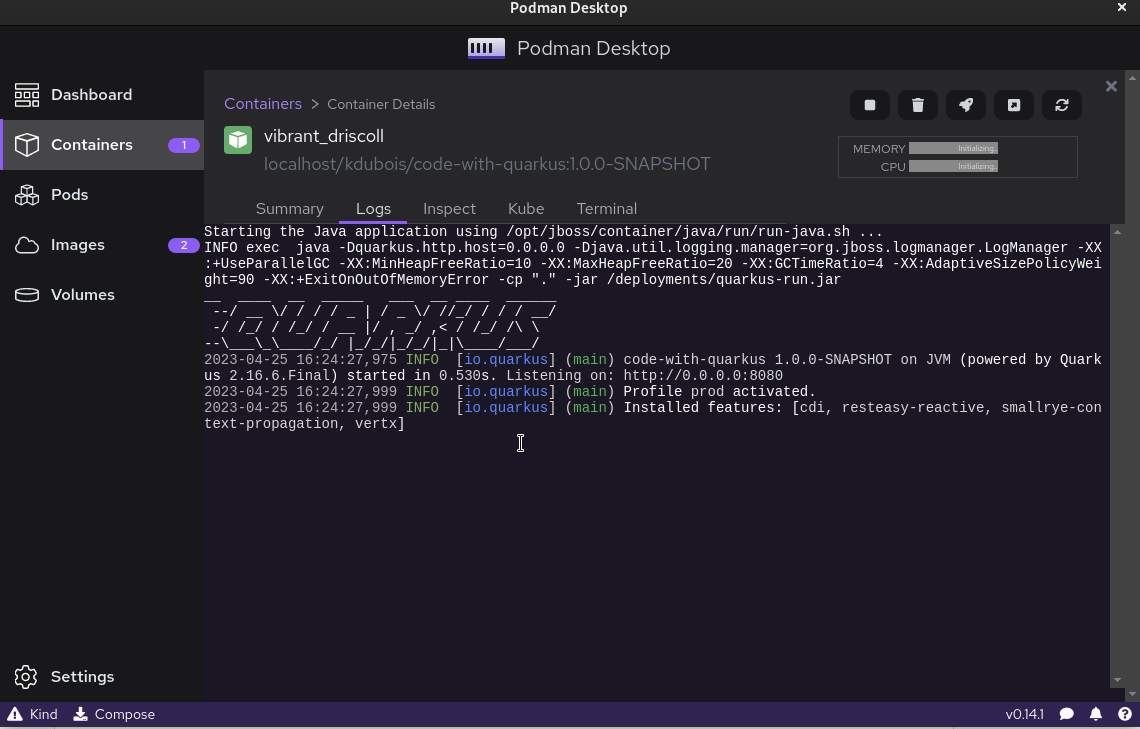
Log output from the running container
I hope you liked this post. If you have any questions or comments, feel free to share them in the comments section. And don’t forget, sharing is caring :)